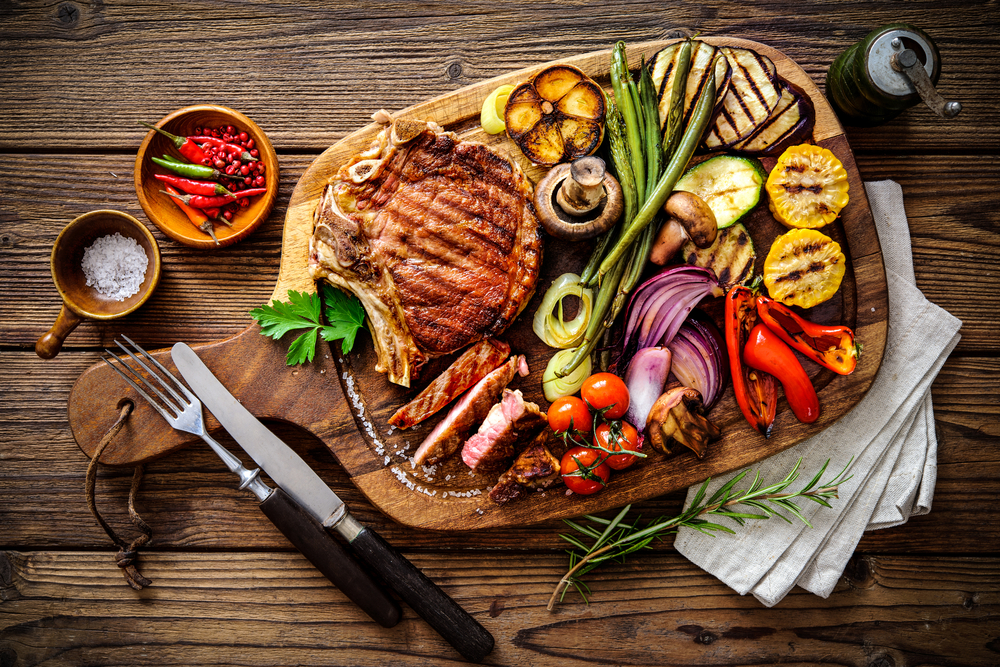
Get your favorite “kiss the cook” apron and make ready your grill! Whether you’re celebrating Independence Day or you just love to keep the spirit of summer tradition, the grill is the way to go when you want tasty meals that spare your kitchen and dining area the extra generated heat.
Plus, it’s just fun!
To become a consummate grill chef, there are a few tricks of the trade you need to be aware of. Chew on these pointers for getting your flame on right at every backyard feast:
• Know your grill
Get acquainted with your heat controls if you have a propane grill. Great grill cooking involves different temperatures for different sections on the grill. Set one area at a lower heat setting for franks, rare and medium rare steaks and chicken and hotter flames for burgers and well done steaks. Veggies are great cooked over medium heat as they are easy to burn.
If you’re using charcoal briquettes, start them in a pyramid and allow them to burn down until they turn white. Using a grill rake or shovel, disperse the coals evenly along the bottom of the grill. Open the damper on the bottom to allow air circulation and raise and lower the grill rack according to desired temperature. If you will be cooking items that require a lower temperature, set them on the perimeter of the rack away from the hottest concentration of coals.
• Testing for doneness
Don’t cut the meat open with a knife to check the color! In gourmet restaurants, broiler chefs wouldn’t dream of marring the appearance of a cut of meat by imposing a big gash down the side or in the middle. Sure, you may cover elk medallions or beef cuts with demi-glace, or use the piled high to the sky fashion of topping the meat with the side dishes, but to truly master grilling meat, you want to test by touch or thermometer.
The touch method is the quick, high volume business method that grill chefs use in restaurants. Testing the doneness of a cut of meat by touch takes practice, but the rule of thumb is the firmer the meat the more done it is. Keep in mind that pork is naturally more firm than beef or chicken.
If you are not into the practice of using the touch method, use a sanitized meat thermometer to test the internal temperature of meat, wiping the thermometer with a food grade sanitizing wipe each time. Nothing will rain on your picnic more than becoming sick or make guests ill from improperly cooked foods at your cookout. Temperatures can vary greatly depending on the types of meat you are cooking, so refer to the temperatures established by federal food safety guidelines to establish appropriate cook temps at the following link: http://www.foodsafety.gov/keep/charts/mintemp.html
Additionally, most food-borne illnesses come from improper handling. If you’re not sure about handling of any food product, refer to this link: http://1.usa.gov/1xYsAQn
• Adding glaze or BBQ sauce
Once meat has finished cooking completely, brush with your favorite sauce and allow it to roast on for about 5 minutes. This lets the sauce caramelize, adding a delicious, light char. Move items over to indirect heat to prevent sauces from scorching.
• Lighten up!
Reduce fat and forego the butter or oil you would normally use to keep your grill items from sticking. Use an olive oil cooking spray instead. Simply spray fully defrosted and seasoned items directly and generously before placing them on the grill.

